Creating Your Account & Initial Setup
A step-by-step guide to creating your Traffic Creator account and setting up your first project.
Creating Your Account & Initial Setup
A step-by-step guide to creating your Traffic Creator account and setting up your first project.
Initial Account Setup
Setting Up Payment Information
To add credits and start creating traffic campaigns, you'll need to set up your payment information:
- Navigate to Dashboard → Account → Billing from the main menu.
- Click the "Add Payment Method" button.
- Choose your preferred payment method (credit card, PayPal, bank transfer, or cryptocurrency).
- Follow the on-screen instructions to complete the payment setup process.
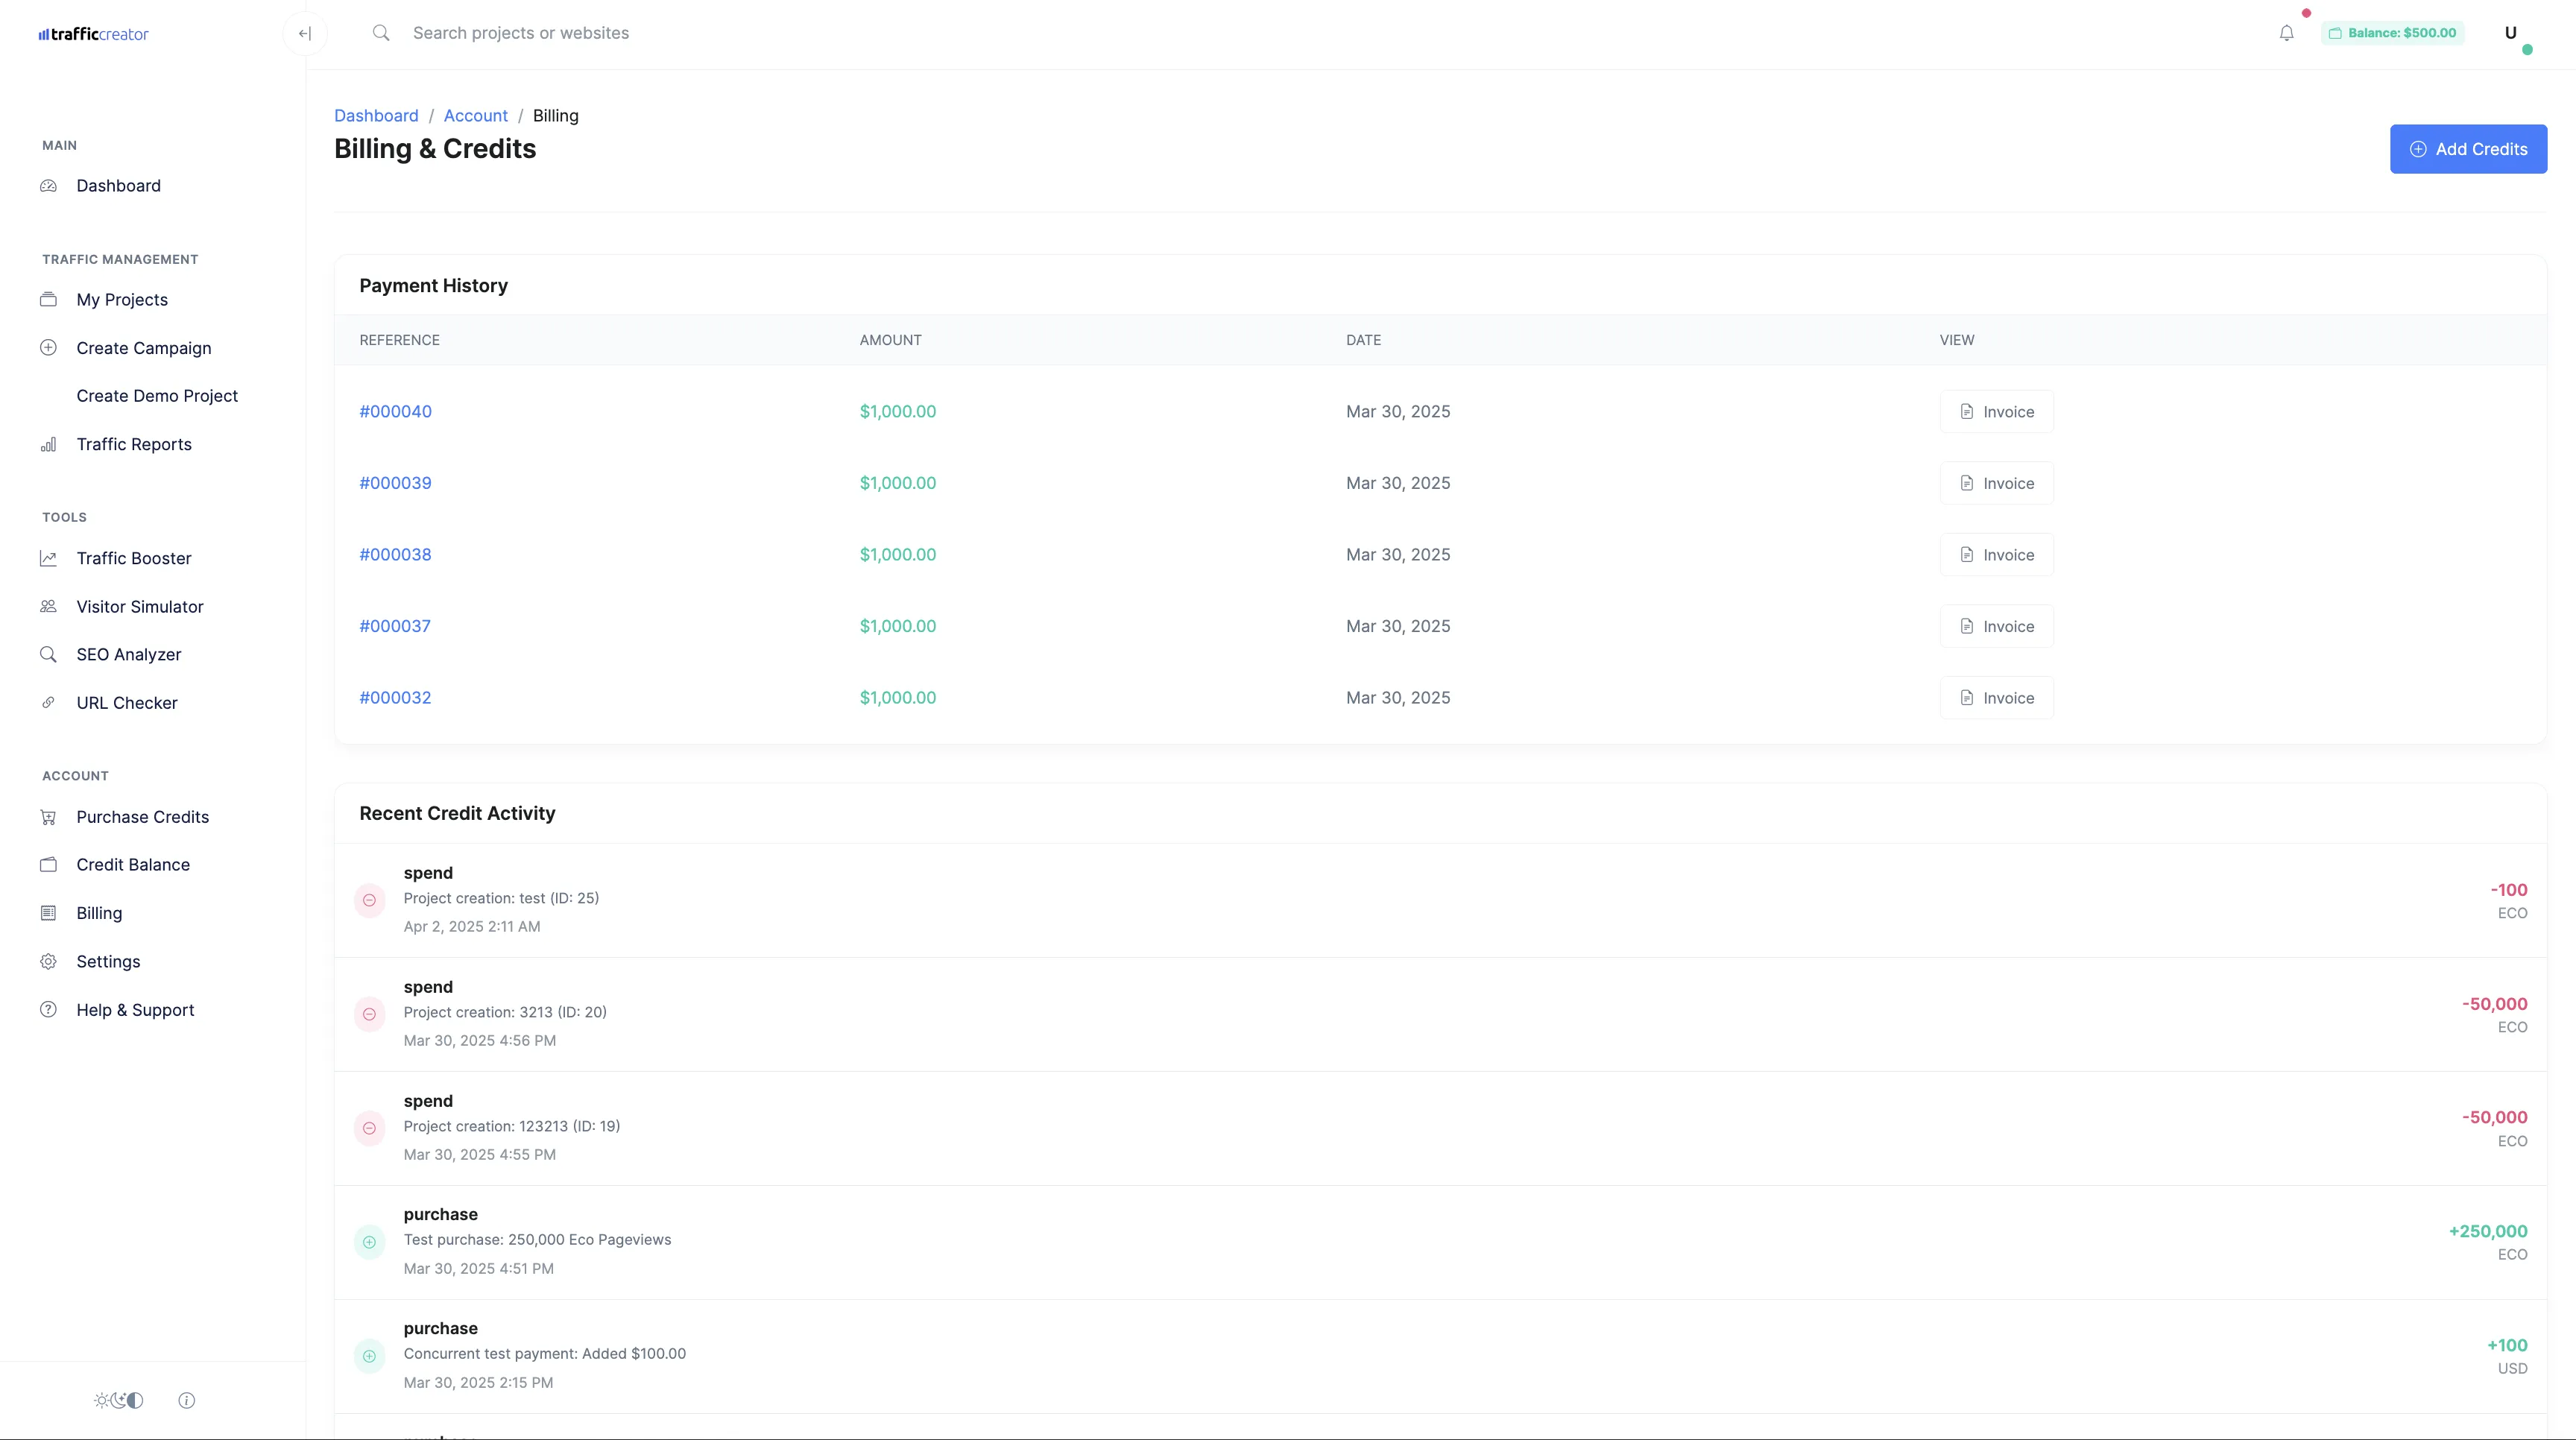
The Billing & Credits page interface
We accept various payment methods:
- Credit/Debit Cards: Visa, Mastercard, American Express
- PayPal: Quick and secure online payments
- Bank Transfers: For larger payments and business accounts
- Cryptocurrencies: Bitcoin, Ethereum, Litecoin, and Ripple
Security Settings Configuration
Enhance your account security by configuring these important settings:
- Navigate to Dashboard → Account → Security.
- Set up Two-Factor Authentication (2FA) for additional account protection.
- Configure IP access restrictions if you want to limit login access to specific IP addresses.
- Set your session timeout preference.
- Enable login notifications to be alerted of new sign-ins to your account.
Security Tip: Enabling Two-Factor Authentication significantly reduces the risk of unauthorized access to your account, even if your password is compromised.
Creating Your First Project
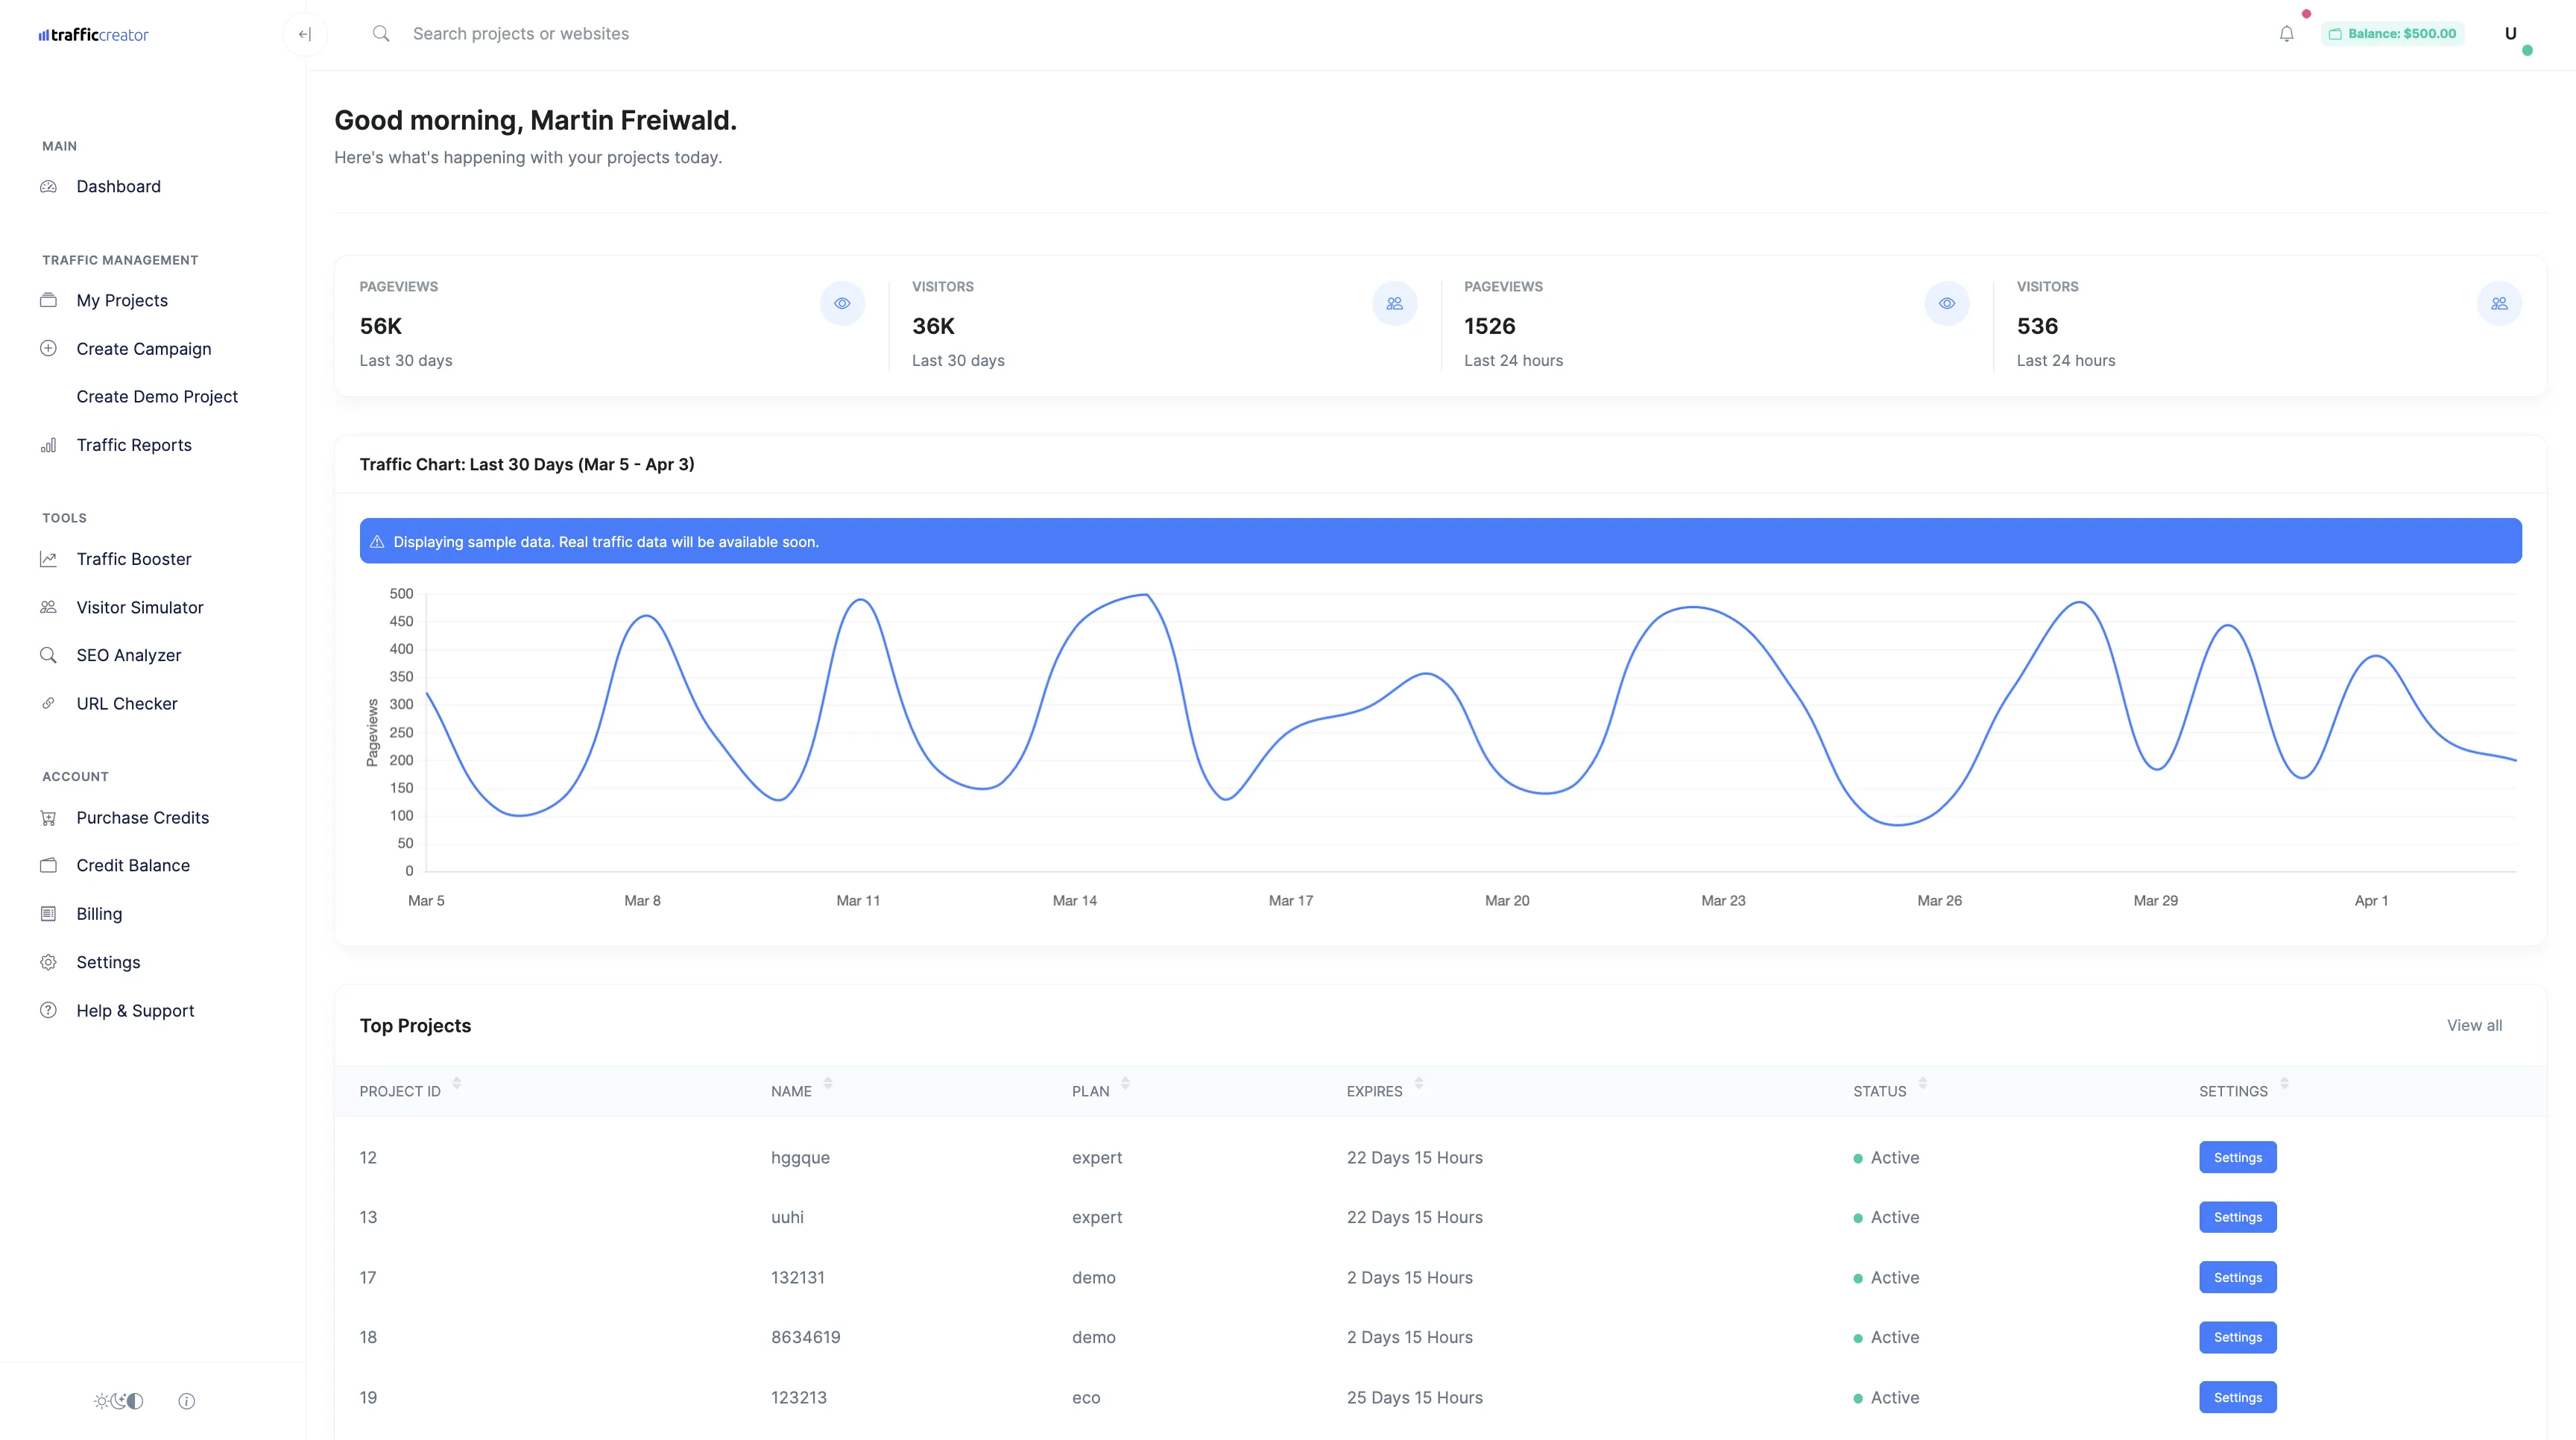
The main dashboard interface
Step 1: Access the Projects Dashboard
After completing your profile and payment setup:
- Navigate to the main dashboard.
- Click on the "Projects" tab in the left sidebar.
- Click the "+ New Project" button in the top-right corner.

The Projects dashboard interface
Step 2: Enter Project Details
Fill in the basic information for your project:
- Enter a descriptive project name (e.g., "Company Blog Traffic" or "E-commerce Store Visitors").
- Add your website URL. Make sure to include the http:// or https:// prefix.
- Select your website category from the dropdown menu.
- Provide a brief description of your project goals (optional but recommended).
- Click "Next" to continue.
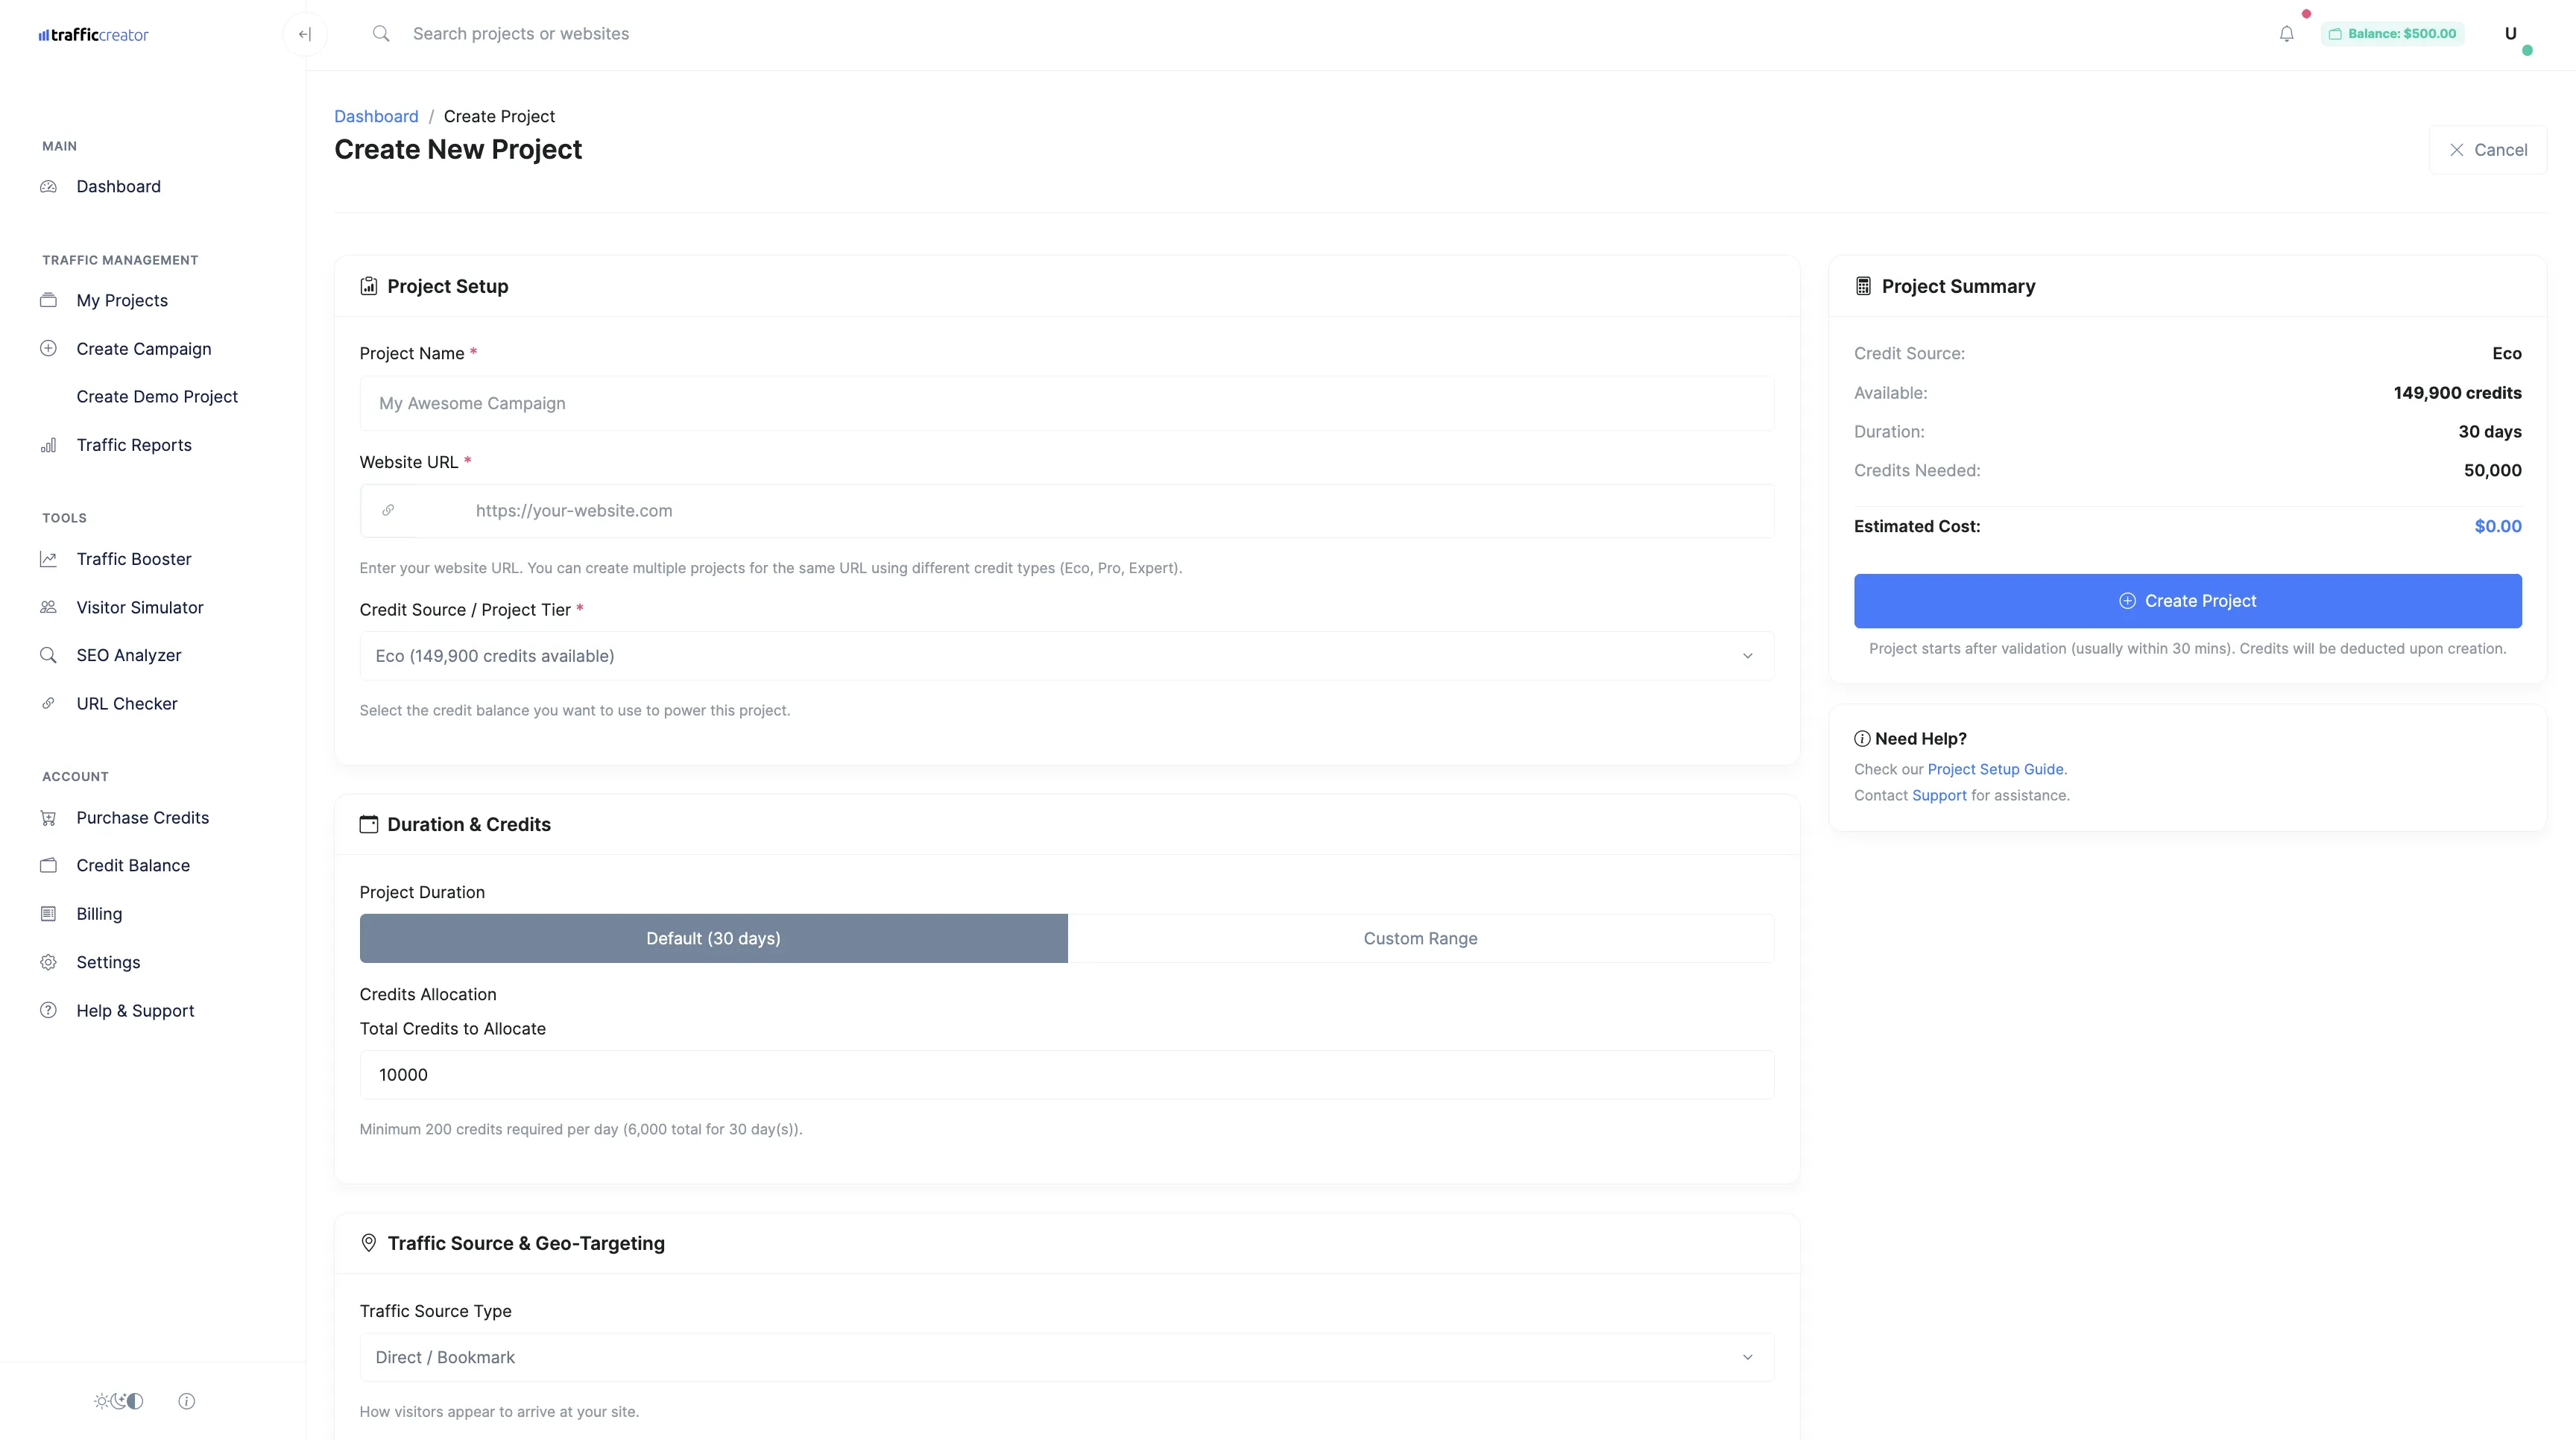
The Create Project form
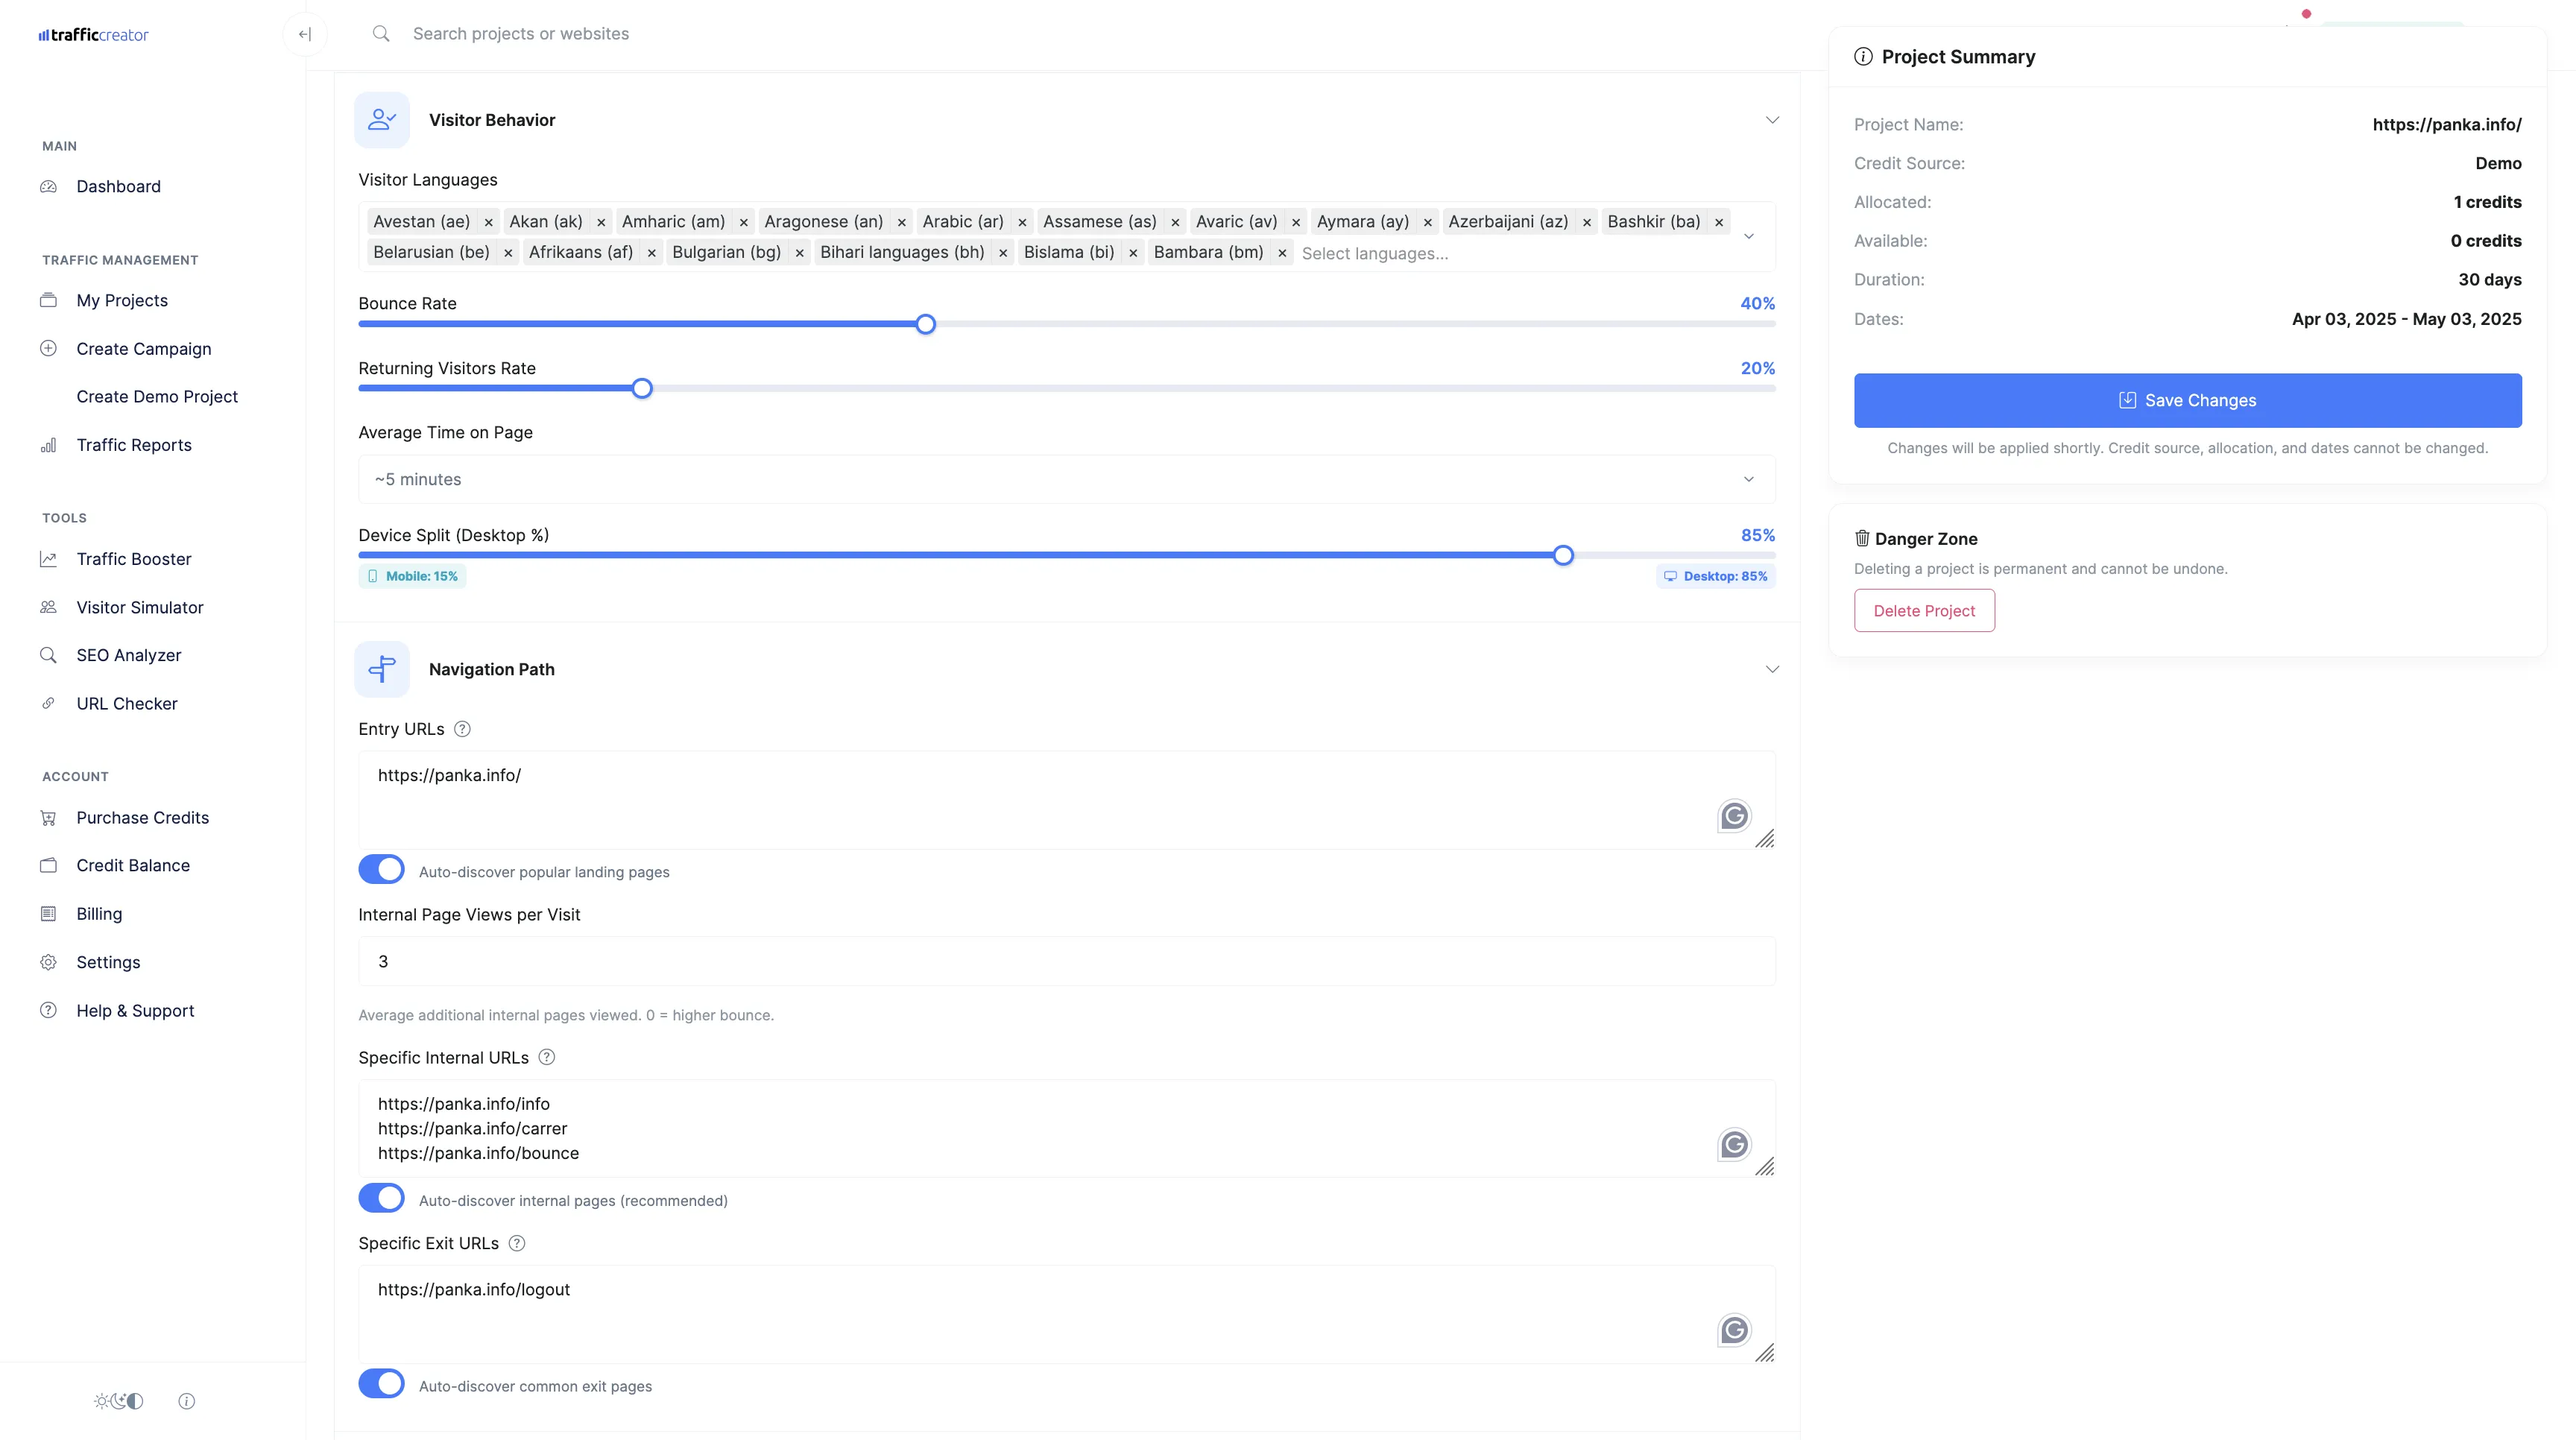
Step 3: Configure Traffic Settings
Now you'll need to configure your traffic settings:
- Select your preferred traffic plan (Economy, Professional, or Expert).
- Choose the traffic types you want to generate (Direct, Social, Organic, Referral, or SERP).
- Set your desired daily traffic volume.
- Configure geographic targeting options to specify where your traffic should come from.
- Adjust advanced settings like bounce rate, time on page, and device distribution if needed.
- Click "Next" to proceed.
The Project Settings configuration interface
Tip: If you're new to Traffic Creator, consider starting with a demo campaign to test the platform features without using your credits. Look for the "Create Demo Campaign" option in the Projects dashboard.
Step 4: Review and Launch
Finally, review your project configuration:
- Verify all settings and make any necessary adjustments.
- Check the estimated credit usage for your campaign.
- Set the campaign start date and duration.
- Click "Launch Campaign" to start generating traffic.
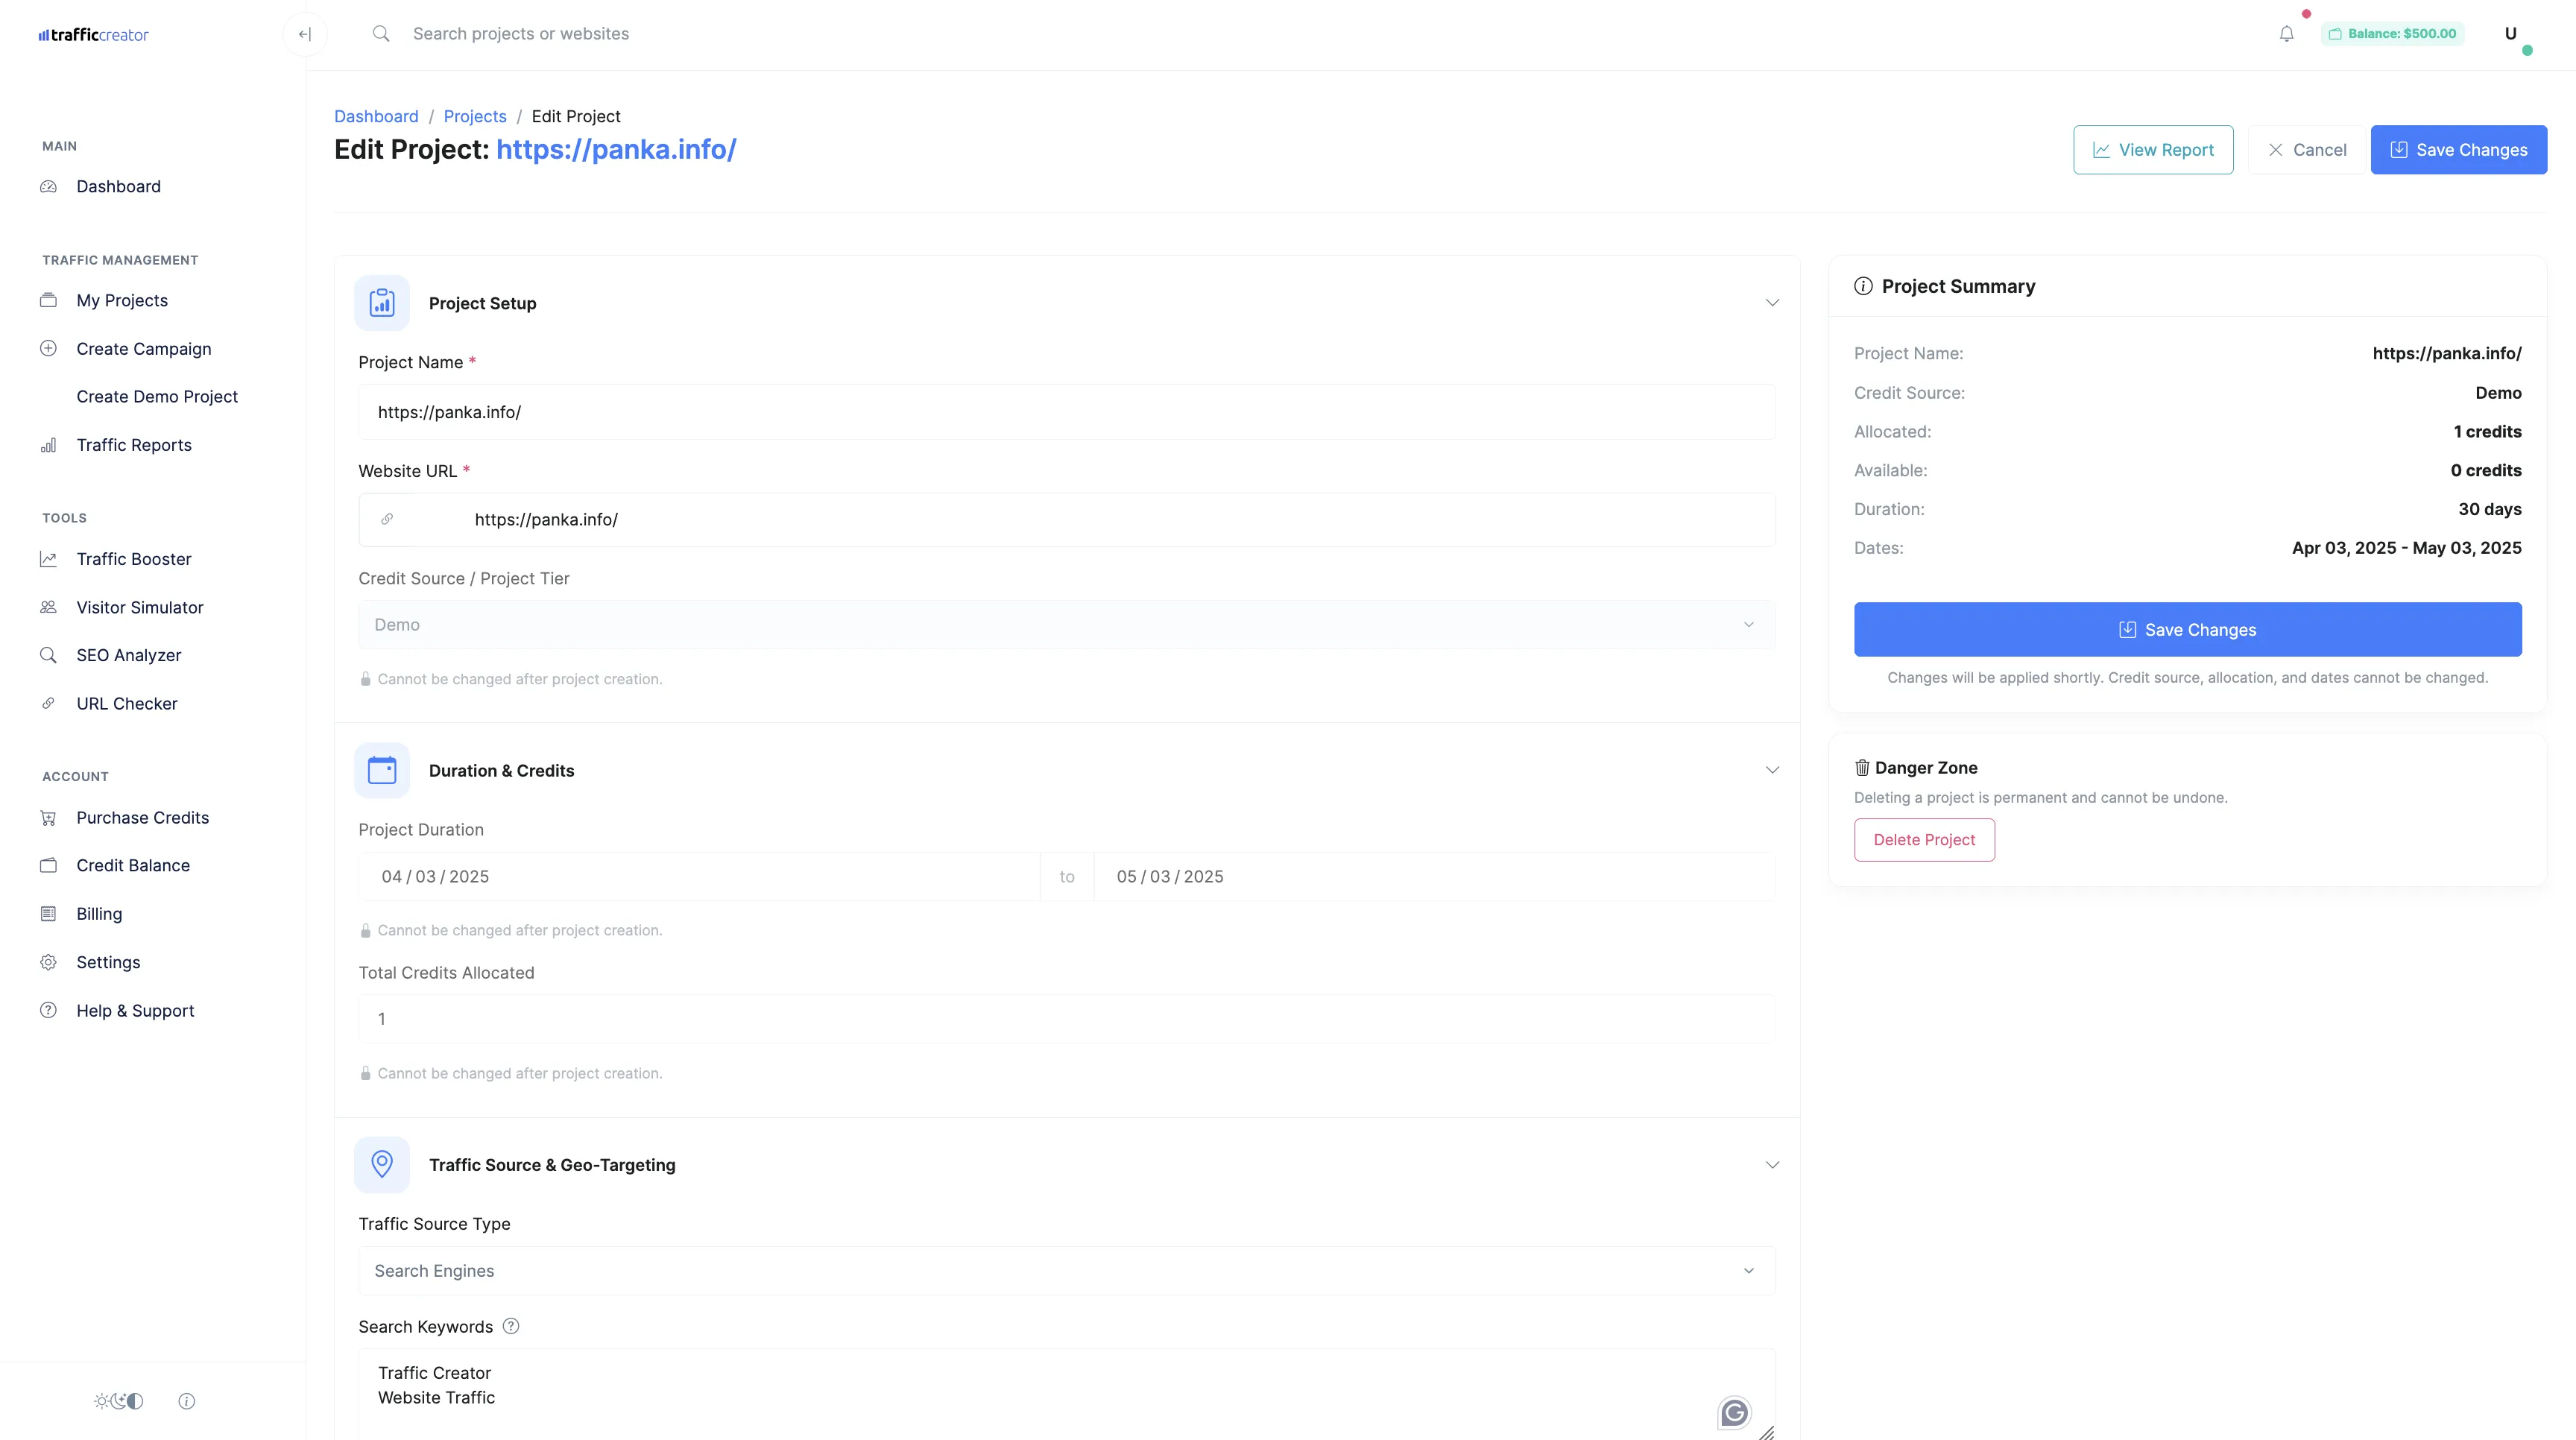
Advanced project settings and configuration options
Next Steps After Setup
After launching your first project, here are some recommended next steps:
- Monitor Your Analytics: Check your Traffic Creator dashboard regularly to track your campaign performance.
- Optimize Your Settings: Based on initial results, adjust your traffic settings to improve performance.
- Explore Advanced Features: Familiarize yourself with advanced features like custom referral sources, event triggering, and scheduling options.
- Set Up Integrations: Connect your Traffic Creator account with your analytics platforms for comprehensive tracking.

Monitor your campaign performance with detailed analytics
Troubleshooting Common Setup Issues
Email Verification Problems
If you don't receive the verification email:
- Check your spam or junk folder.
- Verify that you entered your email address correctly during registration.
- Click "Resend Verification Email" on the login page.
- If problems persist, contact our support team at [email protected].
Payment Method Issues
If you encounter problems adding a payment method:
- Ensure your payment details are entered correctly.
- Check if your card has international transaction capabilities.
- Try an alternative payment method if available.
- Contact your financial institution to authorize the transaction.
Project Creation Errors
If you experience issues creating a project:
- Verify that your website URL is valid and accessible.
- Ensure you have sufficient credits for your selected traffic plan.
- Try clearing your browser cache and cookies, then attempt again.
- Contact our technical support for assistance with persistent errors.
Created on
April 11, 2025
Last updated
April 23, 2025
Need More Help?
Can't find what you're looking for? Our support team is here to help.
Contact Support